RV Pre-Departure Inspection Checklist for Rental Units 2026
Updated for 2026. Complete RV pre-departure inspection checklist for rental units. Learn what to check at pickup, how to document damages, and avoid fees.
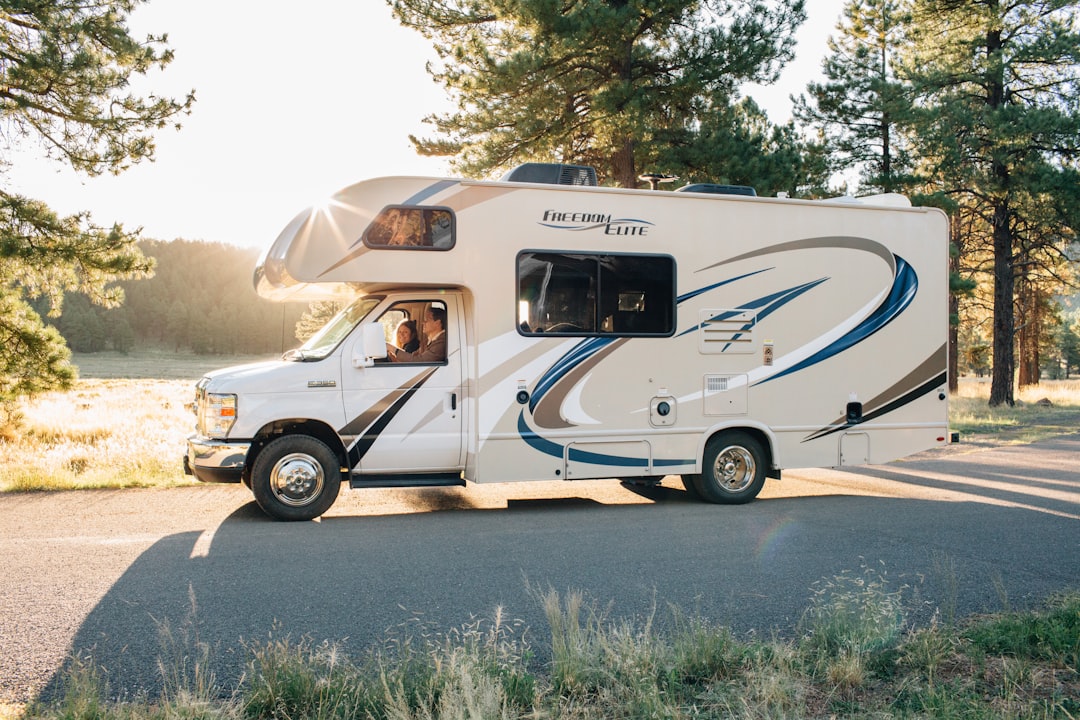
Imagine picking up your rental RV, driving 300 miles to your campground, and discovering the roof has a crack that’s been leaking for days. The water damage under the carpet is already moldy—and the rental company says you’re responsible because you didn’t document the damage at pickup. This exact scenario happened to a couple from Ohio last summer. They ended up paying $2,800 in damages.
A pre-departure inspection at pickup is your best defense against unfair charges. It’s not about distrusting the rental company—it’s about protecting your security deposit and starting your trip with confidence. Most renters skip this step entirely, focusing on getting on the road instead of taking 30 minutes to do a thorough walkthrough.
Photo by Roberto Nickson on Unsplash
This guide walks you through every step of a rental RV pre-departure inspection, from what to check inside and out to how to document everything properly. Use it alongside our RV pre-departure checklist tool to make sure nothing gets missed.
Why the Pickup Inspection Matters More Than You Think
Your rental contract probably states that you’re responsible for any damage not documented at pickup. That means if a scratch existed before you took the RV but you didn’t photograph it, you could be charged when you return it.
Here are the most common fees we’ve seen renters unfairly charged:
- Exterior scratches and dents: $150 to $500 per occurrence
- Interior stains or tears: $100 to $300
- Appliance damage (fridge, stove): $200 to $800
- Awning or slide-out damage: $300 to $1,200
- Cleaning fees above normal wear: $50 to $200
A 30-minute inspection at pickup can save you thousands in bogus charges. It’s the single most important thing you do before driving away.
Before You Arrive: Preparation Is Key
Doing some prep work before you get to the rental lot makes the inspection faster and more thorough.
What to Bring
- Your driver’s license and rental confirmation
- A fully charged phone with a camera (for photos and video)
- A flashlight (even if it’s daytime, some compartments are dark)
- A cloth or tissue to wipe away dirt that might obscure damage
- A pen to note any issues on the inspection form
What to Review First
Before you even look at the RV:
- Read the rental agreement thoroughly. Know what you’re responsible for and what’s already been noted as pre-existing damage.
- Ask about the inspection process. Some companies have a formal walkthrough with an agent; others give you a checklist to complete on your own.
- Confirm the RV’s exact model and length. Make sure it matches what you booked.
Step-by-Step Exterior Inspection
Start with a full walkaround of the RV exterior. This takes about 10 minutes but catches the most common damage issues.
Roof Inspection
The roof is the most critical part to check because damage here leads to water leaks that cause expensive interior issues.
- Stand on a step ladder or use a smartphone camera to inspect the roof surface
- Look for cracks, tears, or missing sealant along seams and around vents
- Check the awning fabric for rips, stains, or mold
- Note any branches or debris that might have been left on the roof
Pro tip: If you can’t safely reach the roof, ask the rental agent to show you recent roof inspection photos or offer to do a visual check with their assistance.
Sides and Front/Rear
Walk slowly around the entire RV, scanning for:
- Scratches and dents (run your hand lightly along panels to feel subtle dents)
- Cracked or foggy windows and mirrors
- Damage to the bumper or hitch area
- Missing or broken exterior lights (headlights, taillights, turn signals)
- Unsealed or cracked window frames
- Condition of the tires (check for bald spots, bulges, or cracks)
Compartments and Storage
Open every exterior compartment and storage bay:
- Check that doors open and close properly
- Note any water damage or mold inside compartments
- Verify that included equipment (generator, grill, hoses) is present and in working condition
- Look for signs of previous repairs or modifications
Undercarriage
If it’s safe to do so, do a quick visual check of the undercarriage:
- Look for loose or hanging parts
- Check for signs of fluid leaks (wet spots, staining)
- Note the condition of the sewer hose connections and fresh water fill
Interior Inspection: Critical Areas
The interior is where people spend most of their time, and where damage claims often happen. Take your time here.
Living Area
- Check the sofa or dinette cushions for tears, stains, or pet hair
- Test the TV and entertainment system (if included)
- Verify that all cabinets and drawers open and close smoothly
- Look at the ceiling for water stains (a red flag for roof leaks)
Kitchen
This is where damage claims happen most often.
- Test each stove burner individually (turn them on and off)
- Check the oven (if the model has one) for proper heating
- Verify the fridge cools properly (set it to the coldest setting and wait 5 minutes)
- Inspect the microwave for burns or stains inside
- Check all countertops for scratches, burns, or stains
- Test the water pump and faucets (run water for 30 seconds at each sink)
- Look under the sink for plumbing leaks
Bathroom
- Test the toilet (flush it to make sure it works)
- Check the shower for proper drainage and temperature control
- Look for water damage around the shower and toilet
- Verify the bathroom fan works
Bedroom Area
- Check mattress protectors and sheets for stains or damage
- Test all reading lights and ceiling lights
- Look at window blinds or curtains for proper operation
- Check for signs of mold or mildew (smell and visual inspection)
Testing Key Systems
Beyond visual inspection, you need to test critical systems to make sure they work.
Slide-Outs
If the RV has slide-outs:
- Extend them fully (while connected to shore power if possible)
- Check for smooth operation—no unusual noises or sticking
- Inspect the seals for cracks or gaps
- Make sure nothing is obstructing the slide-out path
- Retract them and verify they seal properly
Awning
- Extend the awning partway to test operation
- Check the fabric for tears or staining
- Verify the mounting brackets are secure
- Retract and lock the travel arms
Propane System
- Turn on the propane supply valve
- Test the stove burners one at a time
- Check the furnace (if available) by turning on the thermostat
- Look for leaks (smell for rotten egg odor)
Electrical System
- Test interior and exterior lights
- Check all wall outlets with a small device (phone charger works)
- Test the inverter (if the RV has one) by unplugging from shore power
- Verify the battery status indicator shows adequate charge
Documenting Everything: Photo and Video Guide
This is the most important part of the inspection. Good documentation protects you against false claims.
Photo Documentation Rules
- Take a wide shot first. Photograph each area before zooming in.
- Then take close-ups. Get detailed photos of any damage, no matter how small.
- Include context. Show the location of the damage (e.g., “rear bumper, passenger side”).
- Use a ruler or coin for scale. Hold a quarter or dollar bill next to scratches or dents to show their size.
- Photograph every panel. Even if you don’t see damage, document the good condition.
Video Walkthrough (Optional but Powerful)
A 30-second video walkthrough serves as additional proof:
- Start with the RV’s license plate or rental ID number
- Do a slow pan around the exterior
- Walk through the interior, highlighting each area
- Mention any issues you find as you go
What to Do With Your Documentation
- Save all photos and videos to a cloud service (Google Drive, iCloud) immediately
- Share a copy with the rental agent and get their acknowledgment
- Note any pre-existing damage on the rental agreement and have the agent sign it
- Keep your documentation until after the rental period ends and your deposit is returned
Common Rental Company Games to Watch For
Unfortunately, not all rental companies are honest. Watch for these red flags:
“We’ll Take Care of It”
If an agent says not to worry about documenting a scratch or stain, that’s a warning. Document it anyway—thoroughly.
Pressure to Rush
Some agents push you to sign quickly and get on the road. Take your time. A 30-minute inspection is reasonable, and most professional companies expect it.
”That’s Not Our Policy”
If the agent refuses to let you photograph the RV or mark damage on the agreement, that’s a major red flag. Consider finding another rental company.
Discrepancies with the Listing
If the RV you receive doesn’t match the listing (different model, missing features), document the differences and ask for a correction before leaving.
Complete Rental Pre-Departure Inspection Checklist
Print this list or use our interactive checklist tool on your phone:
Exterior
- Roof inspected for cracks and sealant damage
- Awning tested and fabric inspected
- All sides checked for scratches and dents
- Windows and mirrors inspected for cracks
- All exterior lights tested
- Tires checked for condition and pressure
- Compartments opened and contents verified
- Undercarriage checked for leaks
Interior
- Living area cushions and upholstery inspected
- All cabinets and drawers tested
- Kitchen appliances (stove, fridge, microwave) tested
- Bathroom toilet and shower tested
- Bedroom area inspected for stains or damage
- Ceiling checked for water stains
Systems
- Slide-outs tested (extend and retract)
- Propane system tested and checked for leaks
- Electrical outlets and lights tested
- Water pump and faucets tested
- Battery status verified
Documentation
- All damage photographed with context
- Wide shots and close-ups taken
- Photos saved to cloud storage
- Pre-existing damage noted on rental agreement
- Agent signs off on documented damage
What to Do If You Find Major Issues
If you discover significant problems (water leaks, non-functional systems, severe damage), you have options:
- Report it immediately. Show the agent your photos and explain the issue.
- Request a replacement. If the issue makes the RV unsafe or unusable, ask for a different unit.
- Get a written estimate. If the agent says it’s pre-existing but won’t mark it on the agreement, get a written statement from them.
- Contact customer service. If the on-site agent won’t help, call the company’s main customer service line before leaving.
Never drive away with a known issue that could cause you problems later. It’s better to delay your trip by an hour than to get stuck on the road or charged for someone else’s damage.
Final Tips for a Smooth Inspection
- Take your time. 30 minutes is reasonable—don’t let anyone rush you.
- Be methodical. Use a checklist so you don’t miss anything.
- Document everything. When in doubt, take a photo.
- Get it in writing. Any agreement about pre-existing damage must be on paper (or in the rental app) with a signature.
- Trust your instincts. If something feels off, it probably is.
For more help with your first RV rental experience, explore our how to rent an RV for the first time guide and use the first RV trip readiness quiz to make sure you’re fully prepared.
A thorough pre-departure inspection at pickup is the foundation of a stress-free RV trip. It takes 30 minutes but can save you thousands in unfair charges. Don’t skip it—your wallet will thank you.
Disclaimer: This guide offers general beginner educational information only. Complex RV mechanical maintenance, repairs and safety adjustments should be completed by certified RV professionals. Always follow your RV rental company and vehicle manufacturer instructions.