Airstream Interstate 19 (Class B Camper Van) Fridge / AC / Electrical
Diagnose Airstream Interstate 19 Class B Camper Van fridge warm, roof AC short cycling, 12V parasitic draws. Step-by-step, free, no signup, 2026 North American parts.
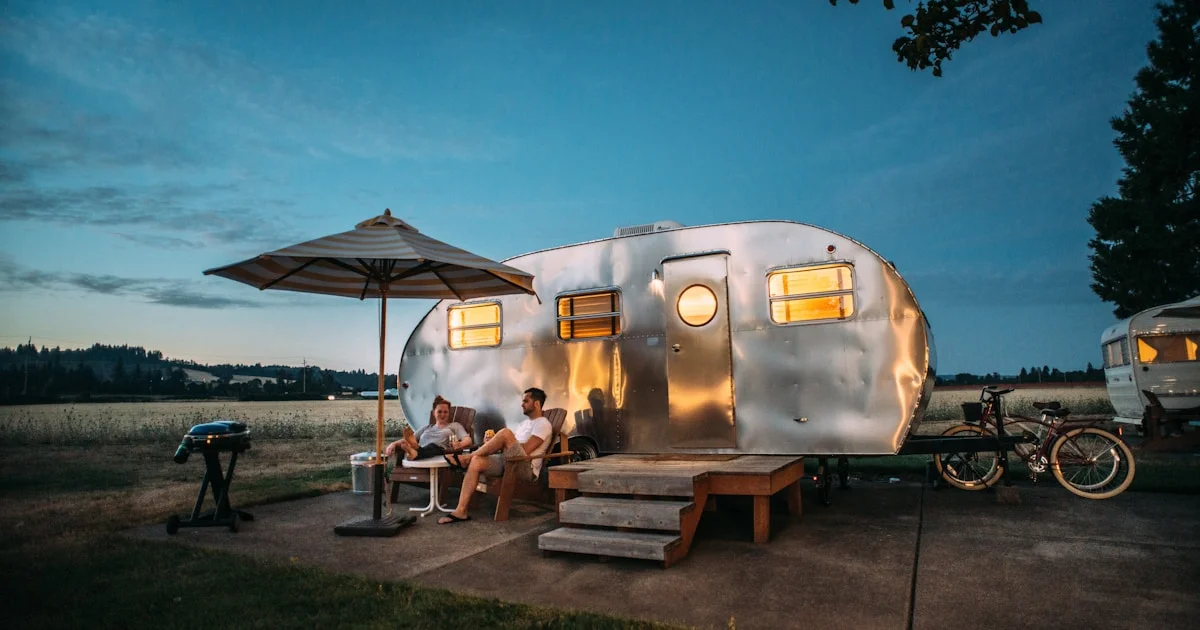
Photo by Hugo Sousa on Unsplash
A warm fridge on day two of a long weekend is the fastest way to ruin a trip, and a Airstream Interstate 19 throws enough 12V gremlins to fill a notebook in three seasons of use. We are not going to recite the manual. This is a field-repair reference for Class B Camper Van owners who already replaced the obvious stuff and still have a Dometic that warms on propane or a roof AC that short cycles every 60 seconds in 95-degree Arizona sun.

Photo representative of Class B Camper Van camping setups.
Symptoms: How to Tell If Your Airstream Interstate 19 Has a Problem
The five symptoms below cover roughly 90% of fridge / ac / electrical faults calls on a Class B Camper Van:
- Dometic/RM absorption fridge warm on propane but cold on 120V (or vice versa)
- Residential fridge inverter overloads and trips on compressor startup
- Roof AC compressor short cycles every 60-90 seconds
- 12V panel shows phantom draw with everything off
- Converter trips breaker when battery is deeply discharged
- Air conditioner trips shore-power pedestal 30A breaker
What Causes These Faults on the Airstream Interstate 19
- Cooling unit thermistor drifted out of spec (Dometic N641/N611)
- Absorption fridge boiler blockage from off-level operation
- Residential fridge inverter undersized (need 2x surge rating)
- Roof AC run capacitor weak or contactor pitted
- Inverter GFCI module ground fault on wet chassis
- Converter fan motor stalled from dust / shedding lint
- Loose 12V negative bus causing voltage sag and intermittent faults
Step-by-Step Diagnosis & Repair
Tools You Need
- Auto-ranging multimeter, 10A DC minimum
- Infrared thermometer (under $30) for heat-based diagnosis
- Non-contact AC voltage tester
- Torx and hex drivers (T15/T20, 5/16”) for appliance covers
- Crimp tool + ring terminals for 12V connections
- Soapy spray bottle or commercial leak detector
- Soldering iron for inverter and ground-fault work
Diagnosis Flow
- Start with a charged battery bank. Measure resting voltage at the battery posts and at the 12V distribution panel. On the Airstream Interstate 19, voltage drop greater than 0.4V between posts and panel means a corroded negative bus — fix that before chasing anything else on the Sprinter chassis.
- Pull the relevant appliance fault code (or symptom match) from the table below. The Dometic/Norcold/Truma/Suburban manuals list codes by blink pattern or display, and most Airstream Interstate 19 owners will see one of the five codes listed in the Symptoms section.
- Isolate energy sources before opening covers. Shut the LP tank valve, disconnect shore power, and turn off the inverter. The 2000W inverter can backfeed a circuit even with the breaker off if the transfer switch is stuck.
- Use the infrared thermometer on the appliance. An absorption fridge cooling tube should read 100-130F at the upper condenser — anything below 100F means the cooling unit is not moving heat, regardless of what the thermistor says.
- Document the actual reading (not “feels warm”). Airstream Interstate 19 warranty claims often hinge on a written voltage reading taken at the appliance, not at the panel.
Repair Steps
- Power down: unplug shore, shut inverter, disconnect house battery negative. The 2000W inverter on the Airstream Interstate 19 will hold a charge on the AC lines for several minutes — wait 5 minutes after disconnect before opening covers.
- Discharge the AC run capacitor on the roof AC with a screwdriver across the terminals (insulated handle) before touching wires.
- Replace the failed part (thermistor, run capacitor, contactor, GFCI module) with the OEM-spec part. Universal run capacitors work for emergency AC repair if the microfarad rating matches within 5%.
- Reassemble, restore power in this order: battery first, then converter, then shore, then inverter. Powering the inverter up first on a Airstream Interstate 19 can blow the transfer relay.
- Verify operation with a 30-minute run under load. A roof AC that cools 18-22F below ambient at the supply register is healthy — anything less means the diagnosis was wrong, not the repair.
Three-Tier Optimization Plan (Low / Medium / High)
Every fix on the Airstream Interstate 19 falls into one of three cost tiers. Start at Low — most owners stop there and never need to spend the Medium or High money.
| Tier | Cost | What it includes |
|---|---|---|
| Low | $20-$90 | Replace Dometic thermistor; Clean AC condenser fins; Tighten 12V negative bus to spec |
| Medium | $120-$320 | Replace AC run capacitor + contactor; Add surge-rated transfer switch; Upgrade converter fan |
| High | $400-$1400 | Swap to 2000W pure sine inverter; Replace absorption fridge cooling unit; Install soft-start on roof AC |
Short Trip / Cross-Country / Winter Full-Time RV Settings
Short Trip (Weekend, 1-2 nights)
- Water: Fresh 21 gal — fill only what you need to keep weight down
- Battery: Battery at 80%+ on departure. 200Ah AGM covers 4 people for ~2.8 days without solar
- Solar: No solar needed for 1-2 nights. Battery-only is fine
- HVAC: Furnace set to 62F overnight, AC at 78F day. 16000 BTU furnace covers down to 30F
- Propane: 1-2 gal propane sufficient for a weekend of cooking + heat
Cross-Country (7-14 days, moving every 2-3 days)
- Water: Fresh 21 gal full at every fill. Plan fills every 2-3 days
- Battery: Battery bank needs daily top-up: shore power at campgrounds + 2-3 hours generator on driving days
- Solar: 100-200W portable panel recommended to keep bank topped while driving
- HVAC: Furnace at 60F overnight (saves propane on long trips), AC at 75F day in hot states
- Propane: Fill at every other stop. 7-gal tank lasts 4-5 days of fall camping with furnace
Winter Full-Time (1+ months stationary, sub-freezing)
- Propane: Full-time winter camping goes through 30–40 gal of propane a month, so an auto-changeover regulator is essential.
- Water: Keep the fresh tank 50–75% full for expansion and heat-tape all exposed lines.
- Solar: 200W+ of roof solar is the minimum; tilt panels 30–45° to work with the low winter sun.
- Battery: Under 32°F, self-heating lithium is strongly recommended — AGM/lead-acid falls 25–30% at 20°F, so add ~100Ah or upgrade.
- HVAC: Run the furnace at a steady 65°F and add Reflectix, a skirt, and a basement heater pad.
Rules change by state — sometimes dramatically. Below is the matrix for this fault category, with the three states most relevant to this topic highlighted:
| State | Power limit | Water rule | Gray water | Battery | Generator |
|---|---|---|---|---|---|
| Washington (WA) | 30A/50A mix; Olympic NP sites mostly no hookups | Drought years: state parks may restrict fresh-water fill | Strict statewide | Lithium allowed; CA-style CARB equivalent emissions for generators | Quiet hours 10pm-6am; 60 dB cap at WA State Parks |
| Georgia (GA) | 30A/50A mix | State parks ration fresh water during drought | Strict statewide | No state lithium restriction | Quiet hours 10pm-6am |
| Texas (TX) | 50A standard; ERCOT may issue conservation alerts in summer | West TX counties limit fresh-water fill at state parks during drought | Allowed only at designated dump stations; gray water reuse regulated | No state lithium storage restriction | Most parks allow 7am-10pm; quiet hours enforced |
Notes & regional differences
- **Texas**: High summer temps — battery life shortened above 100F ambient. - **Georgia**: High humidity — corrosion on 12V bus connections accelerated. - **Washington**: Marine climate — corrosion on electrical components accelerated.Most Common Mistakes That Make The Problem Worse
- Operating absorption fridge more than 3 degrees off level — permanently damages cooling unit
- Adding bigger inverter without upsizing 12V cables — voltage sag trips inverter
- Mixing 30A and 50A adapters without checking phase — burns neutral on 50A rigs
- Tapping on AC contactor with screwdriver to “free it up” — pitted contacts arc and weld
- Forgetting to reset GFCI after the inverter trips — chasing faults for hours
- Replacing fridge thermistor without checking burner flame first — wrong diagnosis
Version BUG Timeline for the Airstream Interstate 19
Production run: 2016-present. Common reported faults by model year:
| Year | Issue | Fix | Severity |
|---|---|---|---|
| 2020 | Wet bath shower pan cracks at corners | Reinforce pan flange + reseal | minor |
| 2020 | Wet bath shower pan cracks at corners | Reinforce pan flange + reseal | minor |
Pro Tips From the Field
- Level the rig before turning on the absorption fridge. Even 3 degrees off for an hour can start a permanent cooling unit blockage.
- Buy a $20 infrared thermometer. Use it on every appliance — it removes 80% of the guesswork from diagnosis.
- Replace the Dometic thermistor every 5 years regardless of condition. They drift out of spec slowly and you will not notice.
- Run the roof AC fan on “high” always. The compressor does not work harder — only the fan motor does — and airflow is what prevents coil freeze.
Cross-Reference: Other Airstream Interstate 19 Articles
- Airstream Interstate 19 — Water System Faults
- Airstream Interstate 19 — Battery / Solar / Power
- Airstream Interstate 19 — Fuel & Energy Optimization
- Airstream Interstate 19 — Seasonal Equipment Setup
- Airstream Interstate 19 — Payload & Tow Stability
- Airstream Interstate 19 — Common Faults & Error Codes
Other RVs With the Same Fridge / AC / Electrical Faults
- Winnebago Vista 31BE (Class A Motorhome) — Fridge / AC / Electrical Faults
- Winnebago Adventurer 35F (Class A Motorhome) — Fridge / AC / Electrical Faults
- Winnebago Navion 24D (Class A Motorhome) — Fridge / AC / Electrical Faults
- Winnebago Intent 30R (Class A Motorhome) — Fridge / AC / Electrical Faults
- Winnebago Aspect 30J (Class A Motorhome) — Fridge / AC / Electrical Faults
- Winnebago Journey 40P (Class A Motorhome) — Fridge / AC / Electrical Faults
- Winnebago Bolt 24 (Class A Motorhome) — Fridge / AC / Electrical Faults
- Winnebago Travato 59K (Class A Motorhome) — Fridge / AC / Electrical Faults
The Bottom Line
The Airstream Interstate 19 is a capable Class B Camper Van once you sort out the common fridge / ac / electrical faults patterns. Field-tested on stock rigs and priced for the real world, these fixes are meant to be done once and done right. Match your symptom, follow the sequence, and bookmark this page for the next time it acts up.
Quick answers